
Do you have a home NAS but only want to access it when you’re on your home Wi-Fi network? If you’re like me, you prefer to store your work files on your NAS to keep your laptop clutter-free. I’ll show you an easy way to configure your Jupyter Notebooks to automatically switch between your cloud directory (when you’re at home) and a local directory (when you’re away).
Configuring Jupyter Notebook
Here’s a step-by-step guide:
Step 1: Generate a Jupyter Notebook Configuration File
This command creates a Python file that Jupyter Notebook loads upon startup. You’ll receive the file location as an output.
jupyter notebook –generate-config
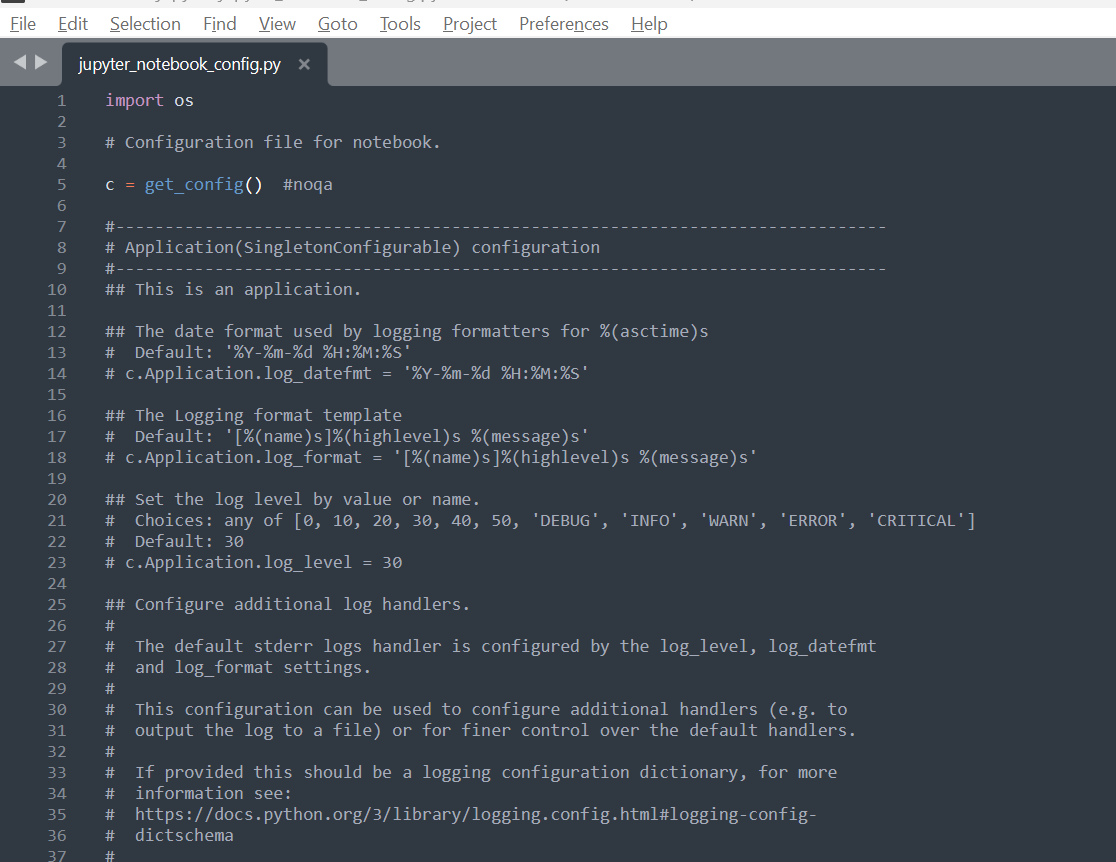
Step 2: Edit the Configuration File
Open the generated configuration file with your preferred text editor. I recommend using Sublime Text for a smooth experience.
By default, the configuration file is mostly commented out. Look for the section where c.ServerApp.root_dir is defined, and uncomment it. Replace the existing code with the following:
cloud_dir = ‘\\\\YOURCLOUDDEVICE\\directory\\directory\\directory’
local_dir = “C:/Users/USERNAME/OneDrive/Documents/Jupyter”if os.path.exists(cloud_dir):
use_path = cloud_dir
else:
use_path = local_dirc.ServerApp.root_dir = use_path
Ensure you also add import os at the top of your file.
import os
That’s it! You’re all set. Now, whenever you run your Jupyter Notebook, the configuration file will check for your cloud directory’s existence using the os module. If it’s available, it will use that path; otherwise, it will fall back to your local directory. This ensures you always work with the correct default folder, whether you’re at home or on the go.
Share this handy guide with your tech-savvy friends who use Jupyter Notebook and have a similar storage setup!
#TechTip #JupyterNotebook #StorageConfiguration 📁📊